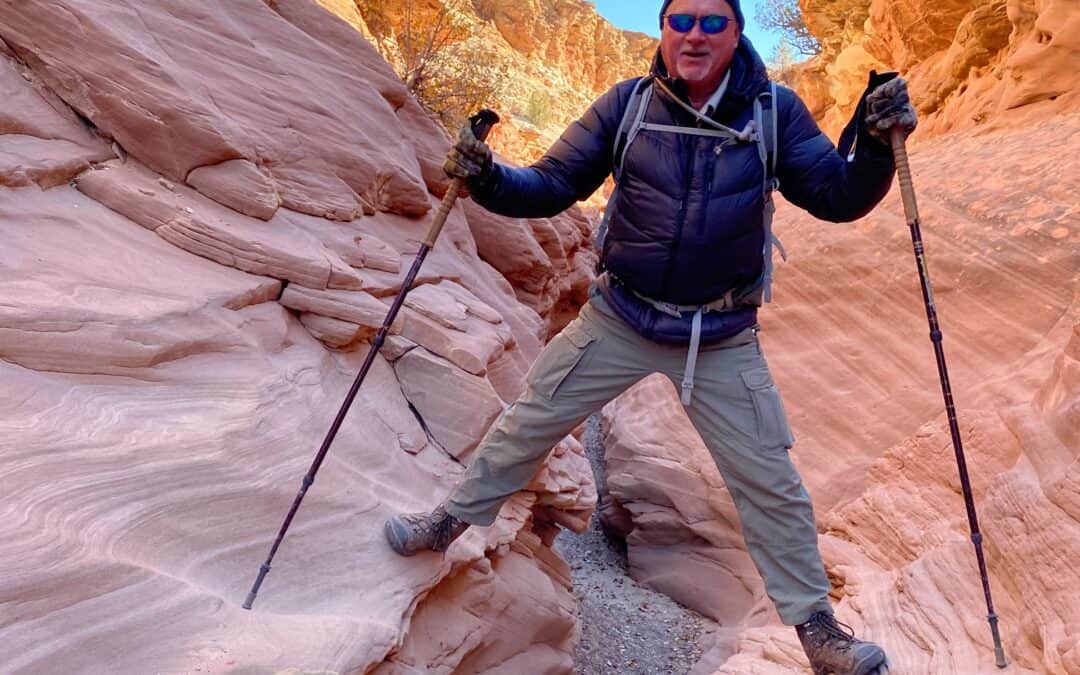
I use trekking poles on the vast majority of the hikes I do – it’s become second nature to use them as another set of “limbs.” Honestly, I feel a little weird when I don’t have them. It’s like riding a bicycle without wearing a helmet or riding in the car without a seatbelt.
That said, I understand that some people who are new to using poles feel a bit awkward at first. Don’t give up if you initially struggle with the cadence of planting poles while walking – it just takes a bit of practice.
Once you get the hang of it, you may get to the point where it seems unnatural to hike without poles, rather than with them!
Here are a few tips to make the transition a bit easier on you.
- Set the poles at the appropriate length. Your elbow should be at 90 degrees when the tip of the pole is on the ground and you’re holding the grip comfortably.
- Walk on fairly flat, wide trail with your poles for a bit – railroad beds that have been converted to trails or dirt roads are good options. This will help you get used to the cadence before you use them on trails with roots and rocks and uneven surfaces.
- Step and pole plant simultaneously, with opposite foot and arm (left foot and right pole, then left foot and right pole). This follows your natural pattern of arm swing with foot placement – the difference is you’re adding a point of contact through the pole. You can plant the pole slightly in front the foot that is still on the ground (right pole/right foot), along side it or even slightly behind it, whatever feels best for you.
- Plant both poles for added leverage or stability. This makes getting up, over and across rocks, stream crossings and other obstacles easier. For example, on “rock steps” I’ll put both poles up on the step with my foot in between and use my upper body to help hoist me up. I use a similar technique going down – I place my poles on the lower step and ease my body down until my foot is on the step. For stream crossings on rocks or narrow log bridges, I put both poles on the stream bed (if possible) for extra balance.
- Adjust the length on longer inclines and declines. I’ll adjust my poles if the stretch of trail is going up or down for more than a quarter mile. For uphills, shorten poles and use your upper body to help push the load (you and your pack) up. For downhills, lengthen the poles and use them to help brace the load and reduce the impact on your lower body.
Pretty soon you’ll be cruising along with your “four legs” and wondering what you ever did without them!
Subscribe To Trailblazer E-News
To get regular updates about how to get more active so you can make the most out of your experiences, just subscribe to my email newsletter below.
You're all set!