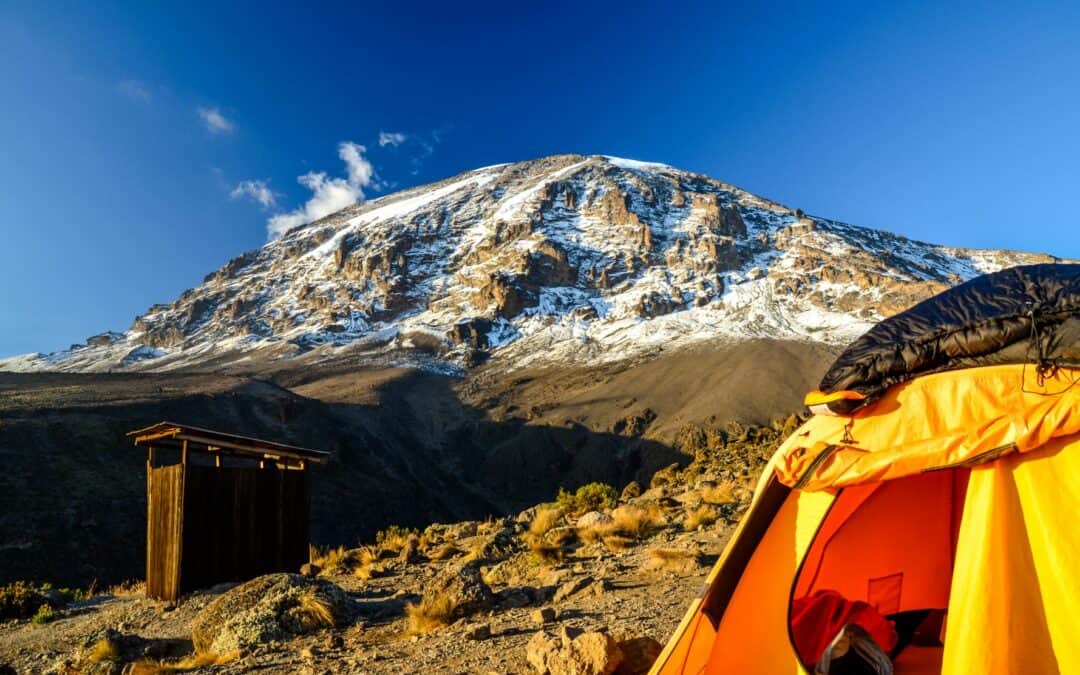
Each year thousands of people reach the summit of Mount Kilimanjaro, aka Uhuru Peak, the highest point of Africa. If you’re dreaming of being among them, add these seven surprising tips to your training plan for Kilimanjaro to improve your chances of reaching the summit!
I’ve seen people ask on social media groups if you need to train to climb Kilimanjaro. Unless you’re hiking multiple days a week with significant elevation changes, I suggest focused training for three months or longer.
Not sure how much time you’ll need for training? Watch my webinar “When to Start Training for Your Bucket List Adventure.”
Typical Advice for How to Train for Kilimanjaro
Before diving into the seven surprise tips, let’s start with the typical advice for a Kilimanjaro training plan. After all, these are all valid and useful activities to improve your physical condition and preparation.
Do lots of hiking. Of course, hiking is a key component of a training plan for a multi-day hiking trip!
Ideally a Kilimanjaro workout plan includes walking or hiking 4-5 times a week in the months leading up to your trip. Add distance and increase elevation changes for your training sessions gradually, 10-20% per week. Aim to be able to hike close to the distance of your longest day with your full backpack (see below for more about the pack).
Here’s a sample Kilimanjaro training plan for the last 4 weeks of training. This assumes you’ve been building up to this mileage over time:
4 weeks before departure: 3 walks for 4-5 miles with hills, 2 hikes for 6-7 miles with 2,000-2,500 feet of elevation change
3 weeks before departure: 3 walks for 4-5 miles with hills, 2 hikes for 7-8 miles with 2,500-3,000 feet of elevation change
2 weeks before departure: 3 walks for 4-5 miles with hills, 2 hike for 7-8 miles with 3,000-3,500 feet of elevation change
1 week before departure: taper off to conserve energy, 3 walks for 3-4 miles, 1 hike for 4-5 miles with 500-1,000 feet of elevation change
Take the stairs. I definitely include stair climbing sessions in my clients’ Kilimanjaro training programs. Going up and down stairs will build your leg strength for the elevation changes you’ll experience while climbing Kilimanjaro.
Do squats and lunges. I highly recommend these classic leg muscle builders. They will help your legs endure back-to-back days of hiking and be less prone to injury.
Break in your hiking boots. Also wear your boots with the socks you’re planning to take on Kili. It’s the combo of the boots and socks worn together that causes blisters!
Wear your backpack on training hikes. Ideally, you should also fill your pack with the items you’ll be carrying while climbing Mount Kilimanjaro. If you don’t have everything yet, at least put in enough to make it the same weight as it will be for your trip.
Starting about 8 weeks before the trip, add a few more pounds to your basic daypack. By 4 weeks out, include everything you’ll be carrying on Kili.
Now for the tips for how to train to climb Kilimanjaro that you may not have heard about yet.
Tip 1: Go Slow, aka Polepole, on Your Training Hikes
When you review the itinerary for climbing Kilimanjaro, you may notice that some days you’ll only hike 5 miles. You may think to yourself, I can hike 5 miles in just a couple of hours!
However, hiking 5 miles at high altitude and with tricky terrain may take 5 or more hours. You want to build up your stamina for being on your feet for that amount of time. So don’t rush through your training hikes.
You don’t have to hike at 1 mile per hour at home. But I do suggest doing several longer and slower hikes, ideally with a lot of elevation change, that take you at least 4-6 hours.
If possible, do two longer hikes on back-to-back days so your body gets used to that level of activity.
Tip 2: Prepare for the DOWN
Many people worry about how hard it will be to go up. Yet going down is actually harder on your body! The eccentric muscle contractions that help you brake or brace yourself on the downhill requires more energy than hiking uphill.
Most Kilimanjaro hiking itineraries are set up with 4-7 days for hiking up, with elevation gains of 1500-4000 feet per day. This helps with high altitude acclimation and energy conservation.
Then there are only 2-3 days for hiking the descent back to the base, with a total elevation loss of more than 15,000 feet. That can mean you’re going 7,000+ feet of downhill in one day. That is a LOT of downhill. My knees cry just thinking about it.
So if you’re tempted to just train on a treadmill and crank up the incline, or spend hours on the stair climber, I strongly recommend you reconsider.
Find some hills or man-made inclines like stairs, bridges or parking ramps, so you can hike up AND down. If you can find a trail with a long downhill section, go hike it a few times.
Tip 3: Do Side Steps on Stairs to Build Hip Strength
In addition to walking up and down stairs, I advise clients to go up and down them with side steps. Simply turn 90 degrees so your feet are parallel to the steps and step up. Here’s a video of side steps in case you’re still wondering how to do it.
We spend so much of our time walking forward on flat ground. This lateral exercise helps build your hip strength for side stepping and uneven ground you’ll be hiking on.
By getting your muscles and joints used to lateral movements as you prepare for your Kilimanjaro hike, you’ll be less sore and have more stamina when you’re hiking for days in a row.
Tip 4: Train on Varied Terrain
The trails to the Roof of Africa go through multiple climate zones and include a wide variety of surfaces. You’ll encounter roots and mud and rocks and snow and more as you climb and descend.
Do your best to prepare your body and feet by finding as much variety in trail conditions as you can. If you’re in Florida, walking on the beach and sand dunes definitely counts!
Use apps like AllTrails or Hiking Project to scope out interesting trails. You can also check with your local outdoor store staff for ideas. You might be surprised what your local parks and recreation areas have to offer!
If you’re not comfortable hiking on unfamiliar trails by yourself, look for a local hiking group via MeetUp or social media.
Tip 5: Get Out to Hike Whatever the Weather
Like the previous tip, this helps condition your body and mind for the variety of conditions you’ll encounter. If you wake up one morning while you’re hiking Kilimanjaro and it’s raining, you’re not going to roll over and hope that it’s nicer out the next day, right?
Of course, be safe, don’t go out in extreme conditions that could be dangerous. But if you’ve planned to do a multi-hour hike on a day when it’s rainy or chilly, that’s a great time to test your gear!
Make sure that rain jacket really is waterproof. Practice putting on and taking off layers. Figure out if what you’re planning to bring works well together to keep you warm and dry.
Tip 6: Practice with Trekking Poles
If you’re not already using trekking poles for hiking, this is a trip where you should strongly consider starting. Go back to Tip 2 about the descent. If you’re still on the fence, read “Why to Use Trekking Poles”.
Don’t wait until you get to Tanzania to try them. Start practicing with trekking poles at least one month before your trip so you get used to the cadence and feel of them. Take them out on your longer hikes that have a lot of elevation change – you may be surprised at the difference it makes.
Here are a few tips on using poles.
Tip 7: Concentrate on Your Core
While strength training for your legs is important for hiking, having a strong core is key for keeping you stable and carrying your backpack comfortably.
You don’t have to have 6-pack abs. You just need to work on building up the strength of your abdominals, obliques and lower back so they can support the twisting, bending and other movements you’ll be doing during the hike.
One simple exercise to do is a lunge-stance twist while wearing your pack. Put on your backpack with a few pounds of weight in it and step forward. Hold the lunge stance and twist towards your front leg. Repeat the twist 10-15 times, then switch legs and twist the other way. Check out the lunge-stance twist video here.
By integrating these seven tips, along with the typical training advice for climbing Kilimanjaro, you’ll improve your fitness level and be better prepared for this challenging trek!
If you have specific questions or want to chat about your specific situation, set up a free 30-minute consultation.
Learn more about personal training + adventure coaching packages to help you prepare for climbing Kilimanjaro or other adventures.
Subscribe To Trailblazer E-News
To get regular updates about how to get more active so you can make the most out of your experiences, just subscribe to my email newsletter below.
You're all set!


