How to Train for a Multi-day Hiking Trip
As the pandemic “travel hold” eases up, I’ve had several clients who are training for a multi-day hiking or walking Bucket List trips. So I gathered my advice for how to train for a multi-day hiking trip to share with you!
Check out my WEBINAR on this topic: replay available here!
Does your Bucket List include at least one multi-day hike or trek? Maybe the Camino de Santiago, which I did in May 2022. Hiking in the Alps has been on my list since watching the Sound of Music as a kid – which I did September 2022!
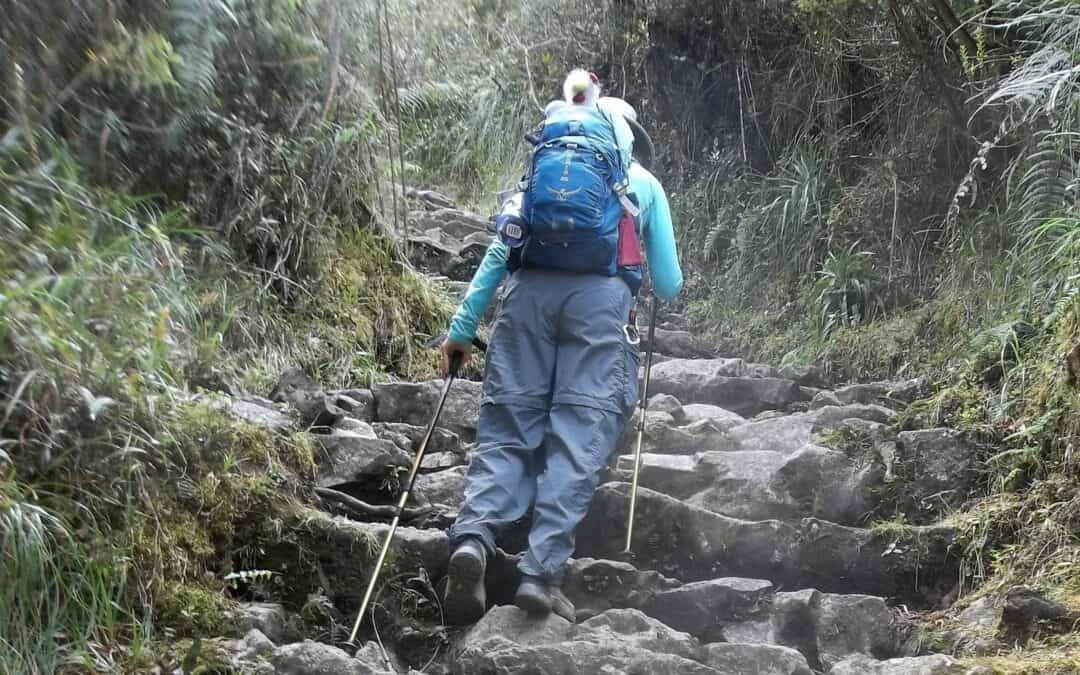
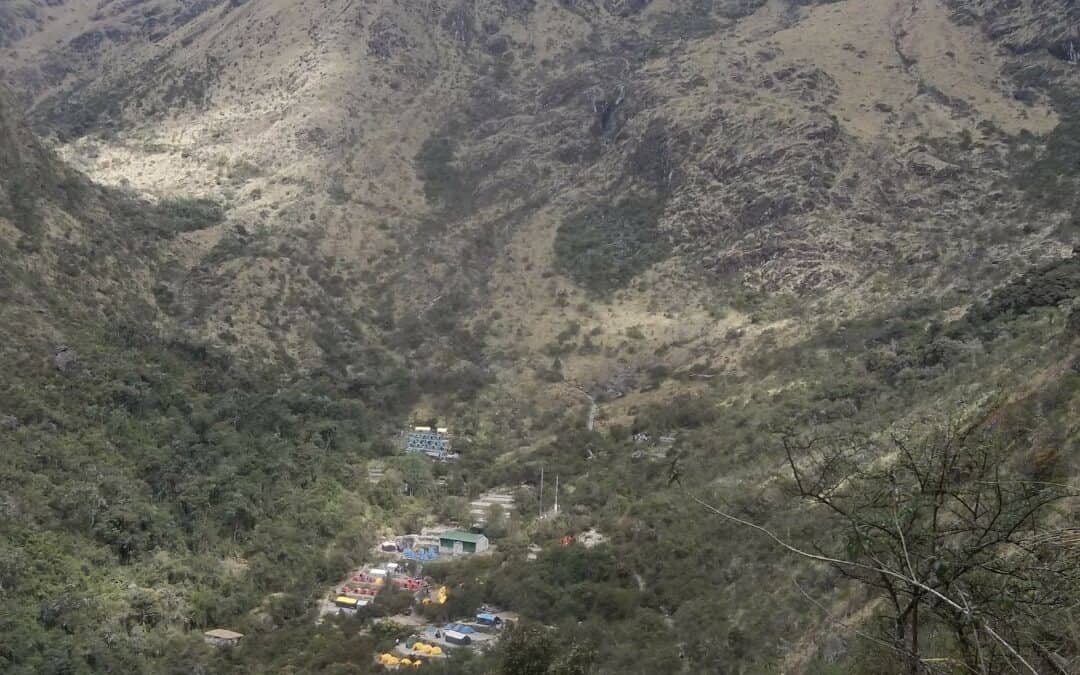
Or are you aiming to do one of the treks to Machu Picchu – my husband and I completed the “Classic” 4-day version in 2013 . Perhaps you’re intrigued by one of the newer options, like the Camino de Costa Rica?
Training for a multi-day hiking trip should involve more than just walking and hiking to prepare. If you want to make the most of this type of trip, here’s how to get started and gain momentum toward your goal!
Worried about making mistakes in your training? Get my free “Top 11 Training Mistakes + How to Avoid Them” quick reference guide!
Getting (Re)Started Hiking
Whether it’s been months or years since you’ve hiked regularly, or even if you’ve never really hiked, you can do a multi-day trek if you have the time and the motivation.
If the multi-day hiking trip you want to do is more than 3 days and more than 20 miles total, and you’re not hiking or walking regularly now, you should start training at least 3 months before the trip.
The key is to start small and slow, then increase your activity gradually. If you’ve been less mobile because of an illness or injury, check out my webinar on “Returning to Exercise After and Injury” or see this post on 5 focus areas for a post-injury hiking trip.
Look for short hikes in your area, and start with what feels doable for you. Then add about 10-20% to your total distance or time each week as you get more comfortable. You can use a pedometer app on your phone or a fitness tracker/watch to gauge the distance.
Sites like AllTrails and apps like Hiking Project are helpful for finding hikes. They show detailed information about the distance and elevation change of the trails, plus reviews from hikers.
Another great resource is your local parks and recreation department. Or stop by a store that sells outdoor clothing and gear and ask one of the employees.
Using Stairs to Train for Hiking
As you do more hiking, your large leg muscles – quadriceps, hamstrings and calves – will get stronger. That said, when you’re training for a multi-day hiking trip, doing specific strength-building exercises with your legs will help you be more stable and less tired on longer hikes.
One simple and effective exercise is step-ups, which are exactly what they sound like: stepping up on stairs or a bench. You can start with a single step, then use a longer staircase to go up and down – actually, the down is as important as the up.
Also step up sideways – that strengthens the muscles that will help you be more stable on uneven terrain when you’re hiking.
If you don’t take stairs much currently, here’s a good starting point:
- 40 steps up and down on each leg
- 20 side steps up on each leg
- At least two times per week
- Add 5-10 steps up and down, and 2-5 side steps on each leg, each week
After a couple of weeks, get your backpack, put some weight in it, and climb stairs wearing it.
If your multi-day hike includes steep sections, work up to taking the steps two at a time up and down.
Strength Training for Hiking
Incorporating strength training as you’re preparing for a multi-day hiking trip will pay off with increased endurance and reduced risk of injury.
If you haven’t done much strength training in the past, learn more about it on my webinar “Building Strength for Your Upcoming Adventure.”
Exercises for Core Strength
As you hike, especially with a backpack, you’ll be twisting and leaning as you navigate uneven terrain. The muscles in your abs and back are key to keeping you stable and upright.
Holding a plank position is a popular way to build core strength. You can start by doing a plank against a wall, then on the floor with your knees on the ground, and work your way up to being on forearms and toes.
Hold the plank with good form for as long as you can, then add a few more seconds each time to get to 1 minute. Remember to keep your abdominal muscles tight and tailbone tucked, don’t let your lower back arch.
Strengthening your oblique muscles will help as you bend and twist when you’re hiking on uneven ground. They’re also used as you’re putting on and taking off a backpack.
One way to improve your obliques is side twists. Sit in a chair and hold a weight in front of you with your upper arms at your sides and elbows bent at 90 degrees. Turn your torso at your waist as if you were going to pass the weight to someone next to you, then turn back to the middle, and then turn to the other side.
Core workout:
- Plank for 30-60 seconds, at least once a day
- Side twists – start with 10 per side once a day, add 2-5 more per side per week (check out this video of doing them using a backpack)
Exercises for Upper Body Strength
Although you may be tempted to focus just on your legs and core, don’t neglect your upper body. Strengthening your chest, back and shoulders will help you be more comfortable holding the additional weight of your pack. Plus you’ll use your biceps and triceps to lift the pack.
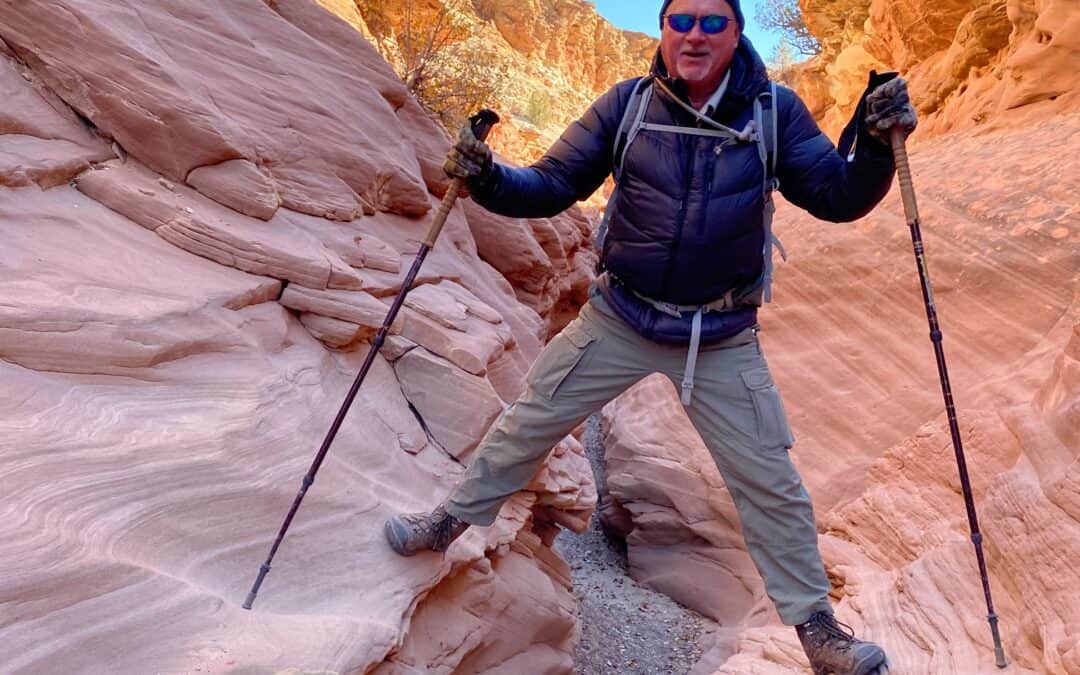
If you use trekking poles, which I highly recommend, a stronger upper body will help you use them to take pressure off your hips and knees.
The classic exercise for building upper body strength is good old-fashioned pushups. As with plank, you can start with doing pushups against the wall. Then move to the floor with your knees on the ground and do as many as you can. As you get stronger, lift one knee and then both knees so you’re on your hands and toes as you lower your chest to the ground and then push up.
You can also use your backpack to strengthen your arms and back. Put in a few soup cans or bottles of water to start. Bend your knees, keep your chest up and grab the top of the shoulder straps. As you stand, lift the pack up in front of you to about chest height, then lower it back down to the ground.
You should have enough weight in the pack that your arms get tired after 10-15 lifts. If you are comfortable lifting it 15 times, add 2-3 more cans or bottles the next time. Keep adding more weight until you get to the point where your arms are tired after 10 lifts.
Upper body workout:
- Pushups – 10-15 at least 2x per week
- Pack lifts – 10-15 at least 2x per week (check out this video of pack lifts)
Improving Your Balance for Hiking
Better balance reduces your risk of injury while hiking. By practicing balance regularly, you’ll be better equipped to deal with uneven ground and unexpected movements, like a rock shifting under your boot.
Balance exercises help you build the smaller muscles and tendons that surround and stabilize your larger muscles and joints.
A simple way to improve balance is to stand on one foot on various surfaces – carpet, concrete, grass, dirt, gravel, rocks. Also do this on a hill – facing uphill and downhill. Aim for 30 seconds per leg to start and work up to 60 seconds. Notice which foot or side feels more stable. Then put on your pack and do it.
Add time to your balance routine gradually. Spend extra time practicing balance on your weaker side.
Focus on Flexibility for Hiking
Finally, don’t forget about flexibility. When you’re more flexible, it’s easier to reach that awkward step or hand hold as you navigate more challenging terrain. And you’re less likely to strain your muscles along the way.
At a minimum, stretch for 5 minutes after a hike or strength workout. Hold each position for about 30 seconds.
Yoga and Pilates help with both flexibility and balance, plus many of the common moves in these practices strengthen and tone muscles. Adding at least one session per week will help you work out the kinks from your increased activities. Find a studio with qualified instructors, especially if you’re new to these practices.
Sample Hiking Training Program (PDF)
One of the basic principles for training is to add more effort gradually – about 10-20% additional per week. For hiking, additional effort can mean more miles and/or steeper hills, and/or a heavier pack. For strength training, additional effort can be a combination of more repetitions or time, and additional weight.
Click here to download a PDF of the first 6 weeks of a plan for a person who is generally healthy, though not exercising regularly, who wants to complete a 3-day, 20-mile inn-to-inn hike carrying a day pack with moderate elevation changes (no more than 1,000 feet per day).
If you’re interested in a customized plan and coaching, check out my Adventure Coaching packages, or set up a free 30-minute consultation call.
Multi-tasking and Mindset Tips!
If training for a multi-day hike sounds like a lot to add into your already busy life, find creative strategies for multi-tasking!
- Practice balance by standing on one foot while you’re brushing your teeth.
- Hold a plank while you’re watching your favorite show or reading a book.
- Take the stairs instead of the elevator at the office or while doing errands.
- Take your dog for an extra-long walk or two. If you don’t have a dog, walk a neighbor’s pup.
If you’re struggling with confidence, try these mindset strategies.
- Recall past challenges that you’ve overcome. What strengths and skills helped you?
- Find your “motivation matches” to help you stay on track.
- Use visualization too – imagine yourself climbing the hills, the amazing views you’ll see, how strong you’ll feel.
And remember to take it one step at a time – literally and figuratively!


