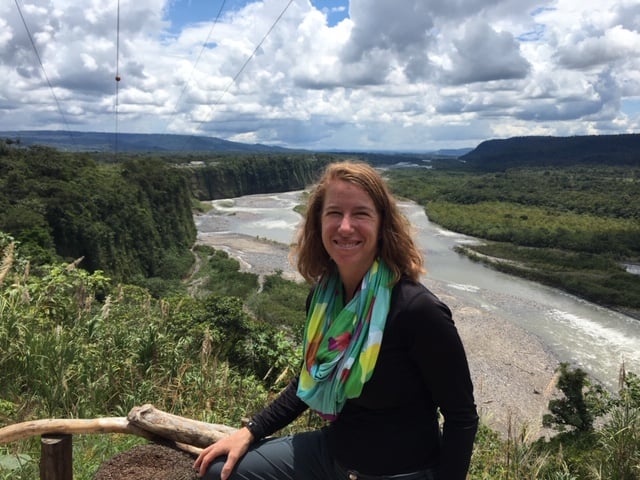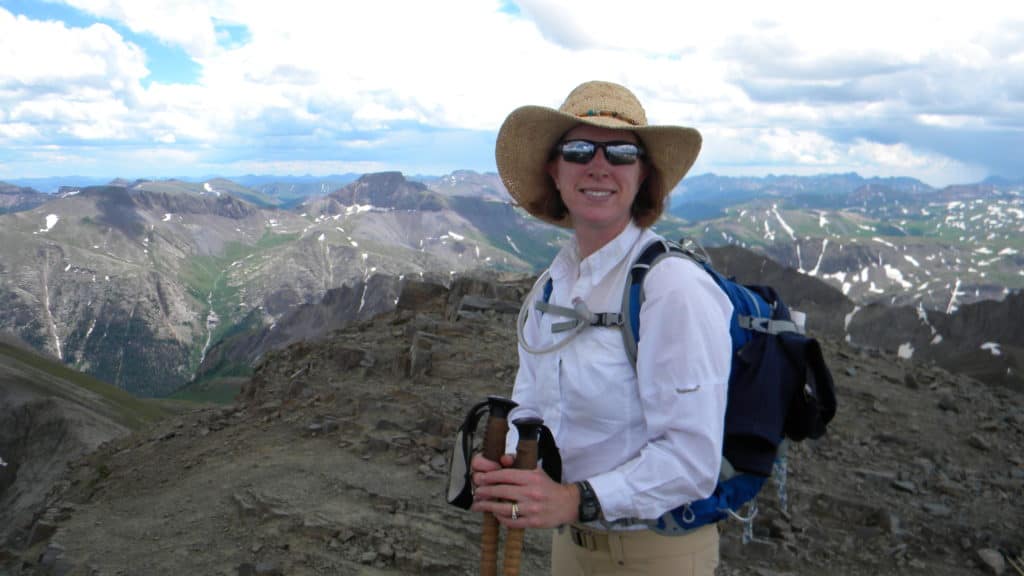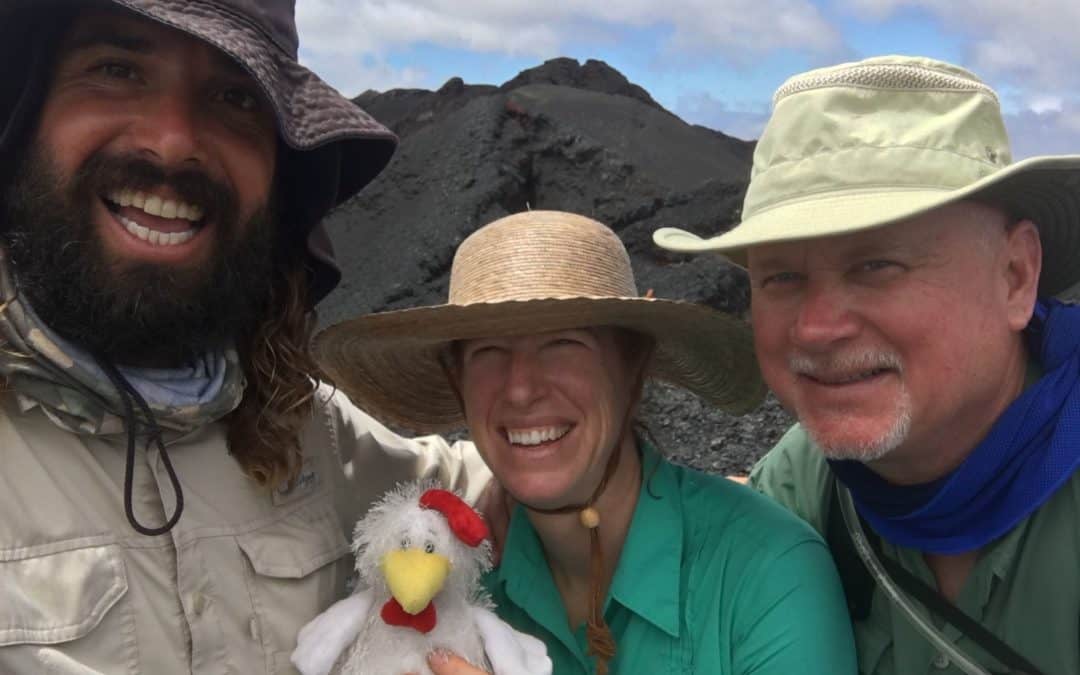
10 Habits of Active Travelers
How the habits you build at home pay off on the road
Habits are all the rage right now – dozens of books on Amazon explain why habits are important in helping you reach your goals, and how to create those habits.
Two of my favorites are Tiny Habits by BJ Fogg and Atomic Habits by James Clear. Both offer practical and simple ways to layer in new habits that could have a positive impact on your life and goals.
Many examples of habits focus on self-improvement in health, work and skill development. Plus the word habit implies something you do regularly. So how do habits apply to traveling? For many of us traveling is something we do for fun, and it’s an occasional activity.
Yet the habits we cultivate during our non-travel time can make a difference in our travel experience. If you’re in the habit of taking stairs in your daily life, you’ll be more comfortable taking stairs at your destination. If you’re in the habit of carrying water and healthy snacks when you’re out and about your hometown, you’re more likely to remember to bring them on a longer trip.
Two principles James Clear included in his book are “make it easy” and “make it obvious.” He also gives examples of short and simple habits that “kick start” a more complex or more difficult habit.
With those concepts in mind, here are 10 habits to get into now that will serve you well when you travel.
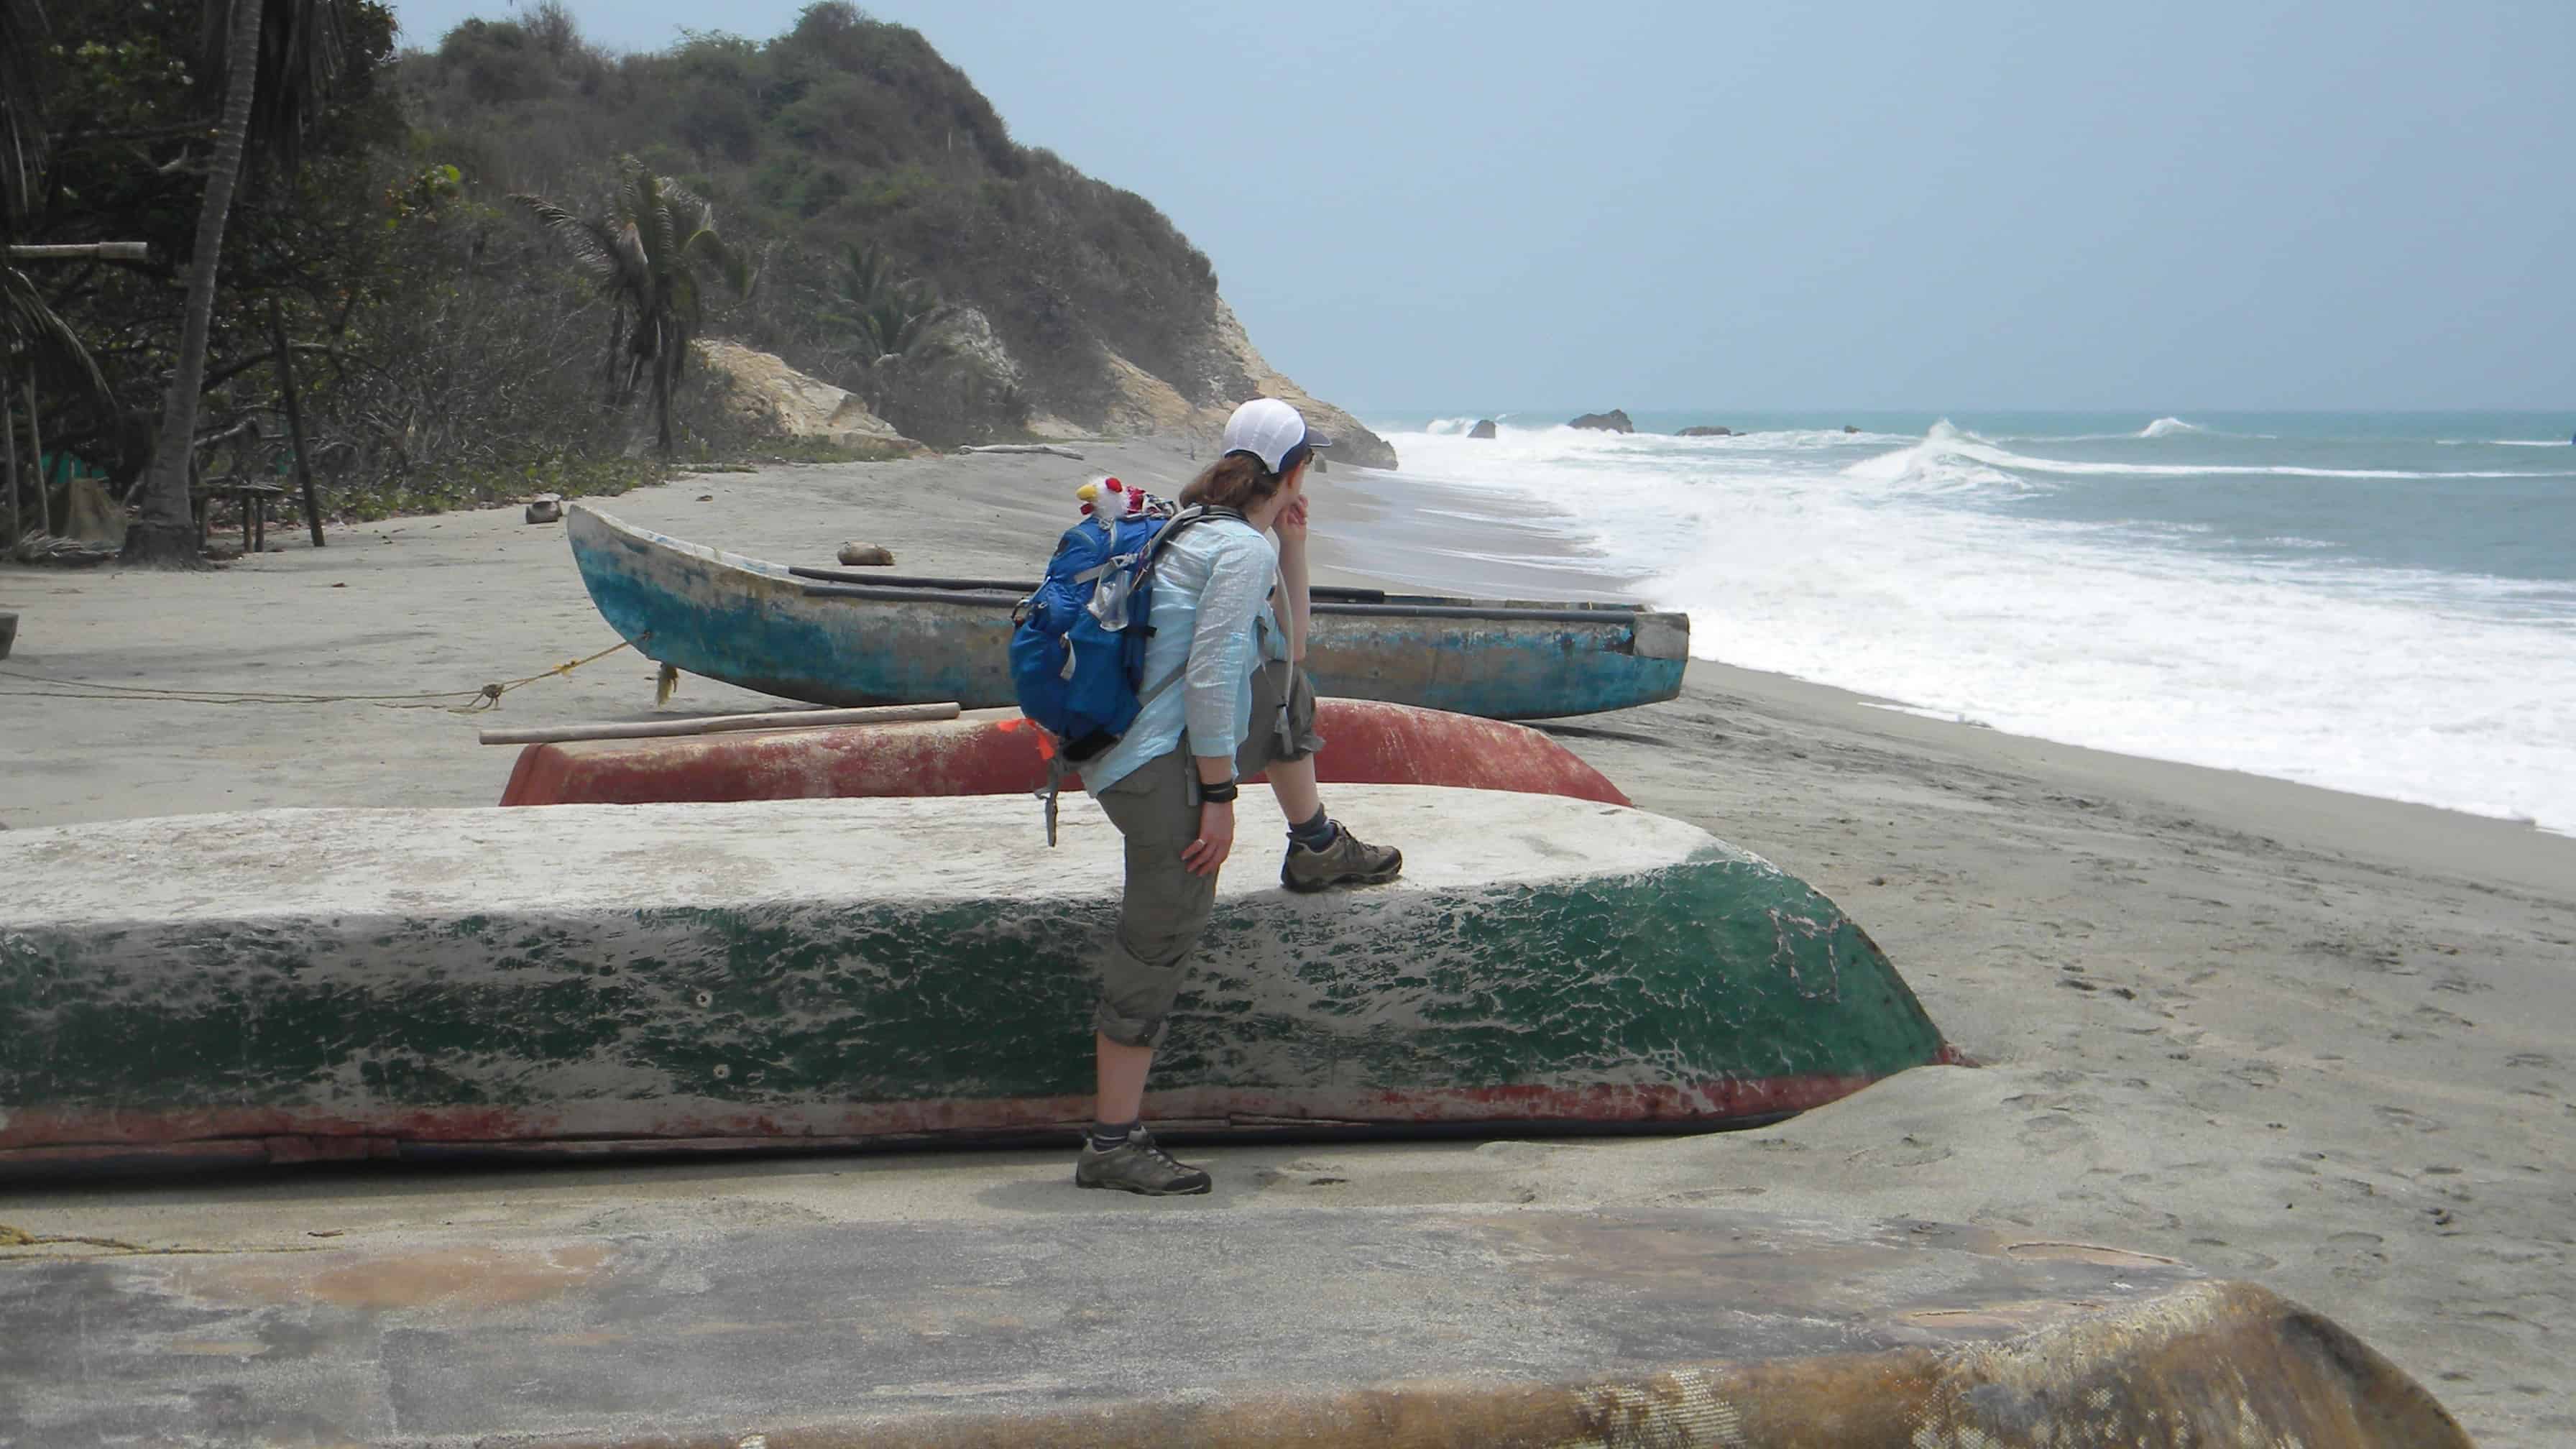
1. Have walking shoes handy – and use them often.
I keep a spare pair in my car so if I’m parked in one place and need to go somewhere else nearby, I can put on more comfortable shoes if I need to.
When you’re traveling you’ll probably be walking more than usual. When you get in the habit of walking regularly at home, you’ll be ready to go the extra mile.
2. Take the stairs when you can.
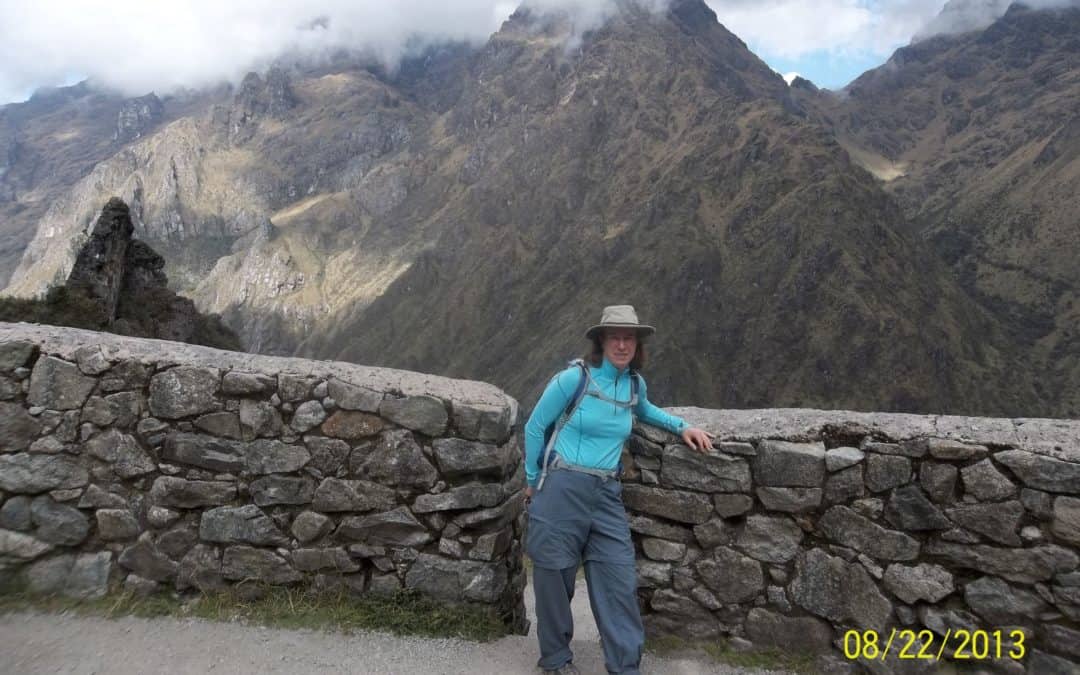
This will prepare you for the many popular sites around the world that were built before elevators were created. One of my favorite memories is climbing the Mayan ruins in Belize! The steps were uneven and narrow, though the payoff was priceless for the experience and the views you gain.
3. Carry a water bottle with you.
Sure, many places around the world sell bottled water, but the waste adds up exponentially. If you’re traveling to an area where tap water isn’t potable, bring a bottle with a filter (REI carries several models).
4. Pack healthy snacks in your bag.
My husband insists on this because I am prone to getting hangry! If you know which snacks you enjoy and travel well at home, you’ll probably be able to find something comparable at your destination.
Plus it’s fun to try local snacks in new places. My husband and I got a 6-month subscription for Universal Yums from our friends, and it was fascinating to try chips from Greece and candy from Thailand!
5. Do a map check regularly.
I’ll admit it, I’m a total map geek. I get a paper map everywhere I travel, and cross-check it with my mobile phone map.
If you use a GPS in your car, periodically take a different route to a familiar location and keep an eye on how the roads and land features appear on the screen. Walk around your hometown using a map app on your phone, like maps.me, Gaia or Google Maps. Seeing how the screen correlates to familiar territory will help you “translate” how it works in an unfamiliar place.
6. Notice landmarks at intersections.
Even if you’ve driven or walked a route dozens of times, check out what’s at the corner when you make a turn. What color is the door on the building? What’s the sticker on the light post? If you look more closely, you’ll probably notice new things.
Then when you’re traveling, you’ll pick up on visual clues that can help you find that amazing coffee shop or your way back to the hotel.
When my husband and I were in Barcelona we found this cute shop with amazing Jamon Iberico and Catalan tomato bread (Pa Amb Tomaquet – sooo good). We didn’t pay close enough attention to where it was, though, and ended up spending at least a half hour the next day wandering the alleys off of Las Ramblas trying to find it. When we did, we took a photo of the nearest intersection!
7. Let someone know where you’re going, and when you expect to be back.
This is especially important if you’re going out on your own. I wake up earlier than my husband, and I love to go out and wander in neighborhoods around where we’re staying. If I didn’t leave a note he would wake up and freak out! Plus it’s just always a good idea at home and elsewhere.
8. Check the forecast for the day before heading out the door.
This may seem obvious, but it’s easy to get complacent at home because you can adjust to unexpected weather more easily. When you’re in a new place, you may not know where to stop in to get a poncho or umbrella.
When my husband and I were in Quito, every day the forecast called for rain, so we always took a jacket and umbrella but rarely used them. When it started pouring on our last day there, we were glad we had the umbrella in my bag!
9. Stash a mini first aid kit in key places.
I’ve picked up several little first aid kits at health fairs, doctor’s offices and other places where they give them out for free. I keep one in the bag I carry around town and in my car. When I travel, I tuck one in my suitcase and my travel purse.
10. Have a set place for your key items.
My dad tried to teach me this when I was a kid and I misplaced a library book, my glasses, keys, and countless other items. I’ve gotten better at returning items to the same place as an adult, which is especially helpful as I age!
Phone, keys, glasses and other little things are easy to misplace in unfamiliar places, so decide one location to put the item (on the bedside table, in a certain pocket of your suitcase) and be vigilant about returning it there.
What habits do you have that are helpful when you travel? Share them with me at becki@trailblazerwellness.com – thanks!
FYI: Blog posts by Becki Rupp and Trailblazer Wellness LLC are for informational purposes only and may not be the best fit for you and your personal situation. Information included in these posts shall not be construed as medical advice. The information and education provided here is not intended or implied to supplement or replace professional medical treatment, advice, and/or diagnosis. Always check with your own physician or medical professional before trying or implementing any information read in our blog posts.
Want to get regular updates from me? Join my email list by filling out the the form below: